
You don’t need expensive gear to make something beautiful. I know that’s hard to believe in a world where every camera release feels like it’s promising a new version of “better,” but some of the most interesting images I’ve seen—and made—come from the simplest setups.
A pinhole camera is about as stripped down as photography gets. No lens. No screen. No autofocus. Just light, time, and a small hole letting the world in. It’s one of the most accessible ways to get into analog photography, and honestly, one of the most fun.
The first time you shoot with a DIY pinhole camera, it feels a little like a magic trick. You’re working with something that shouldn’t really work—like a shoebox, a tin, or whatever you have lying around—and somehow, it does. The images come out soft, imperfect, and a little unpredictable in a way that digital photography rarely allows anymore.
If you’ve been curious about film photography, or you’re just looking for a beginner-friendly photography project that doesn’t require a big investment, this is a really good place to start. Building your own pinhole camera is cheap, low-pressure, and a reminder that photography isn’t about the gear—it’s about paying attention.
And honestly, sometimes slowing down enough to let the image come to you.
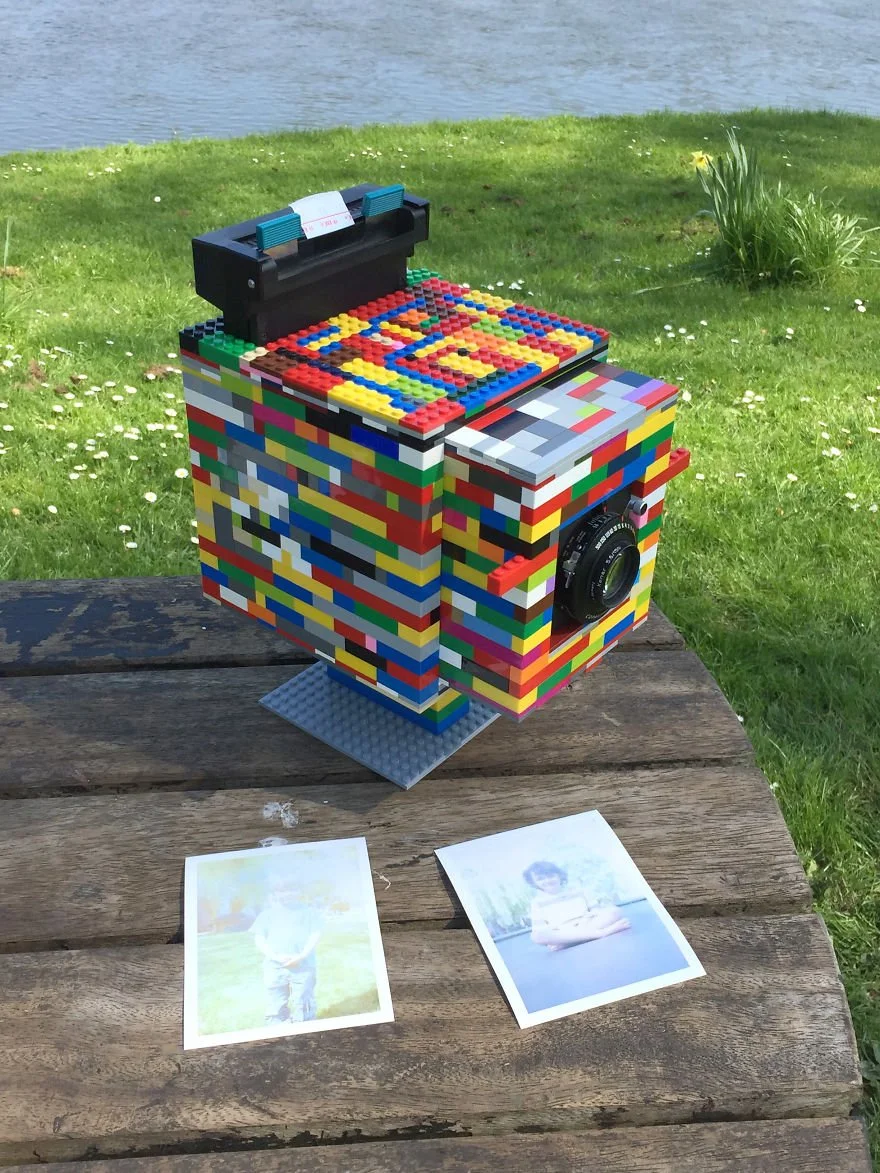
Lego Camera Mark II with 4×5″ Instant Film Back by Brendan Barry
What You’ll Need
You probably already have most of what you need sitting somewhere in your apartment. That’s part of the appeal—this isn’t precious, and it doesn’t need to be.
Here’s what you’ll want to gather:
A light-tight container
A shoebox, a coffee can, or a cookie tin all work. Anything that can fully block out light is fair game. This is your camera body.
Black paint or matte black paper (optional, but worth it)
Lining the inside helps absorb stray light and gives you cleaner images. Not required, but it makes a difference.
Aluminum foil
This is where your pinhole lives. It becomes your “lens,” technically speaking.
Photographic paper or film
This is your image surface. If you’re new to film photography, photo paper is usually easier to start with.
A pin or needle
The smaller and cleaner the hole, the sharper your image. This is the entire mechanism.
Scissors
For cutting your foil and making small adjustments.
Tape (electrical tape works great)
You’ll use this to seal edges and control light leaks. Think of it as part of the build, not just an afterthought.
Something to use as a shutter
A small piece of opaque tape or cardboard works perfectly. This is how you control exposure—literally just covering and uncovering the hole.

The Gingerbread Pinhole Camera by @diaboli — proof that anything can be a camera if you believe hard enough

quality of image result example
How to Build Your Pinhole Camera
If this is your first time making a pinhole camera, don’t overthink it. This is one of those rare photography processes where imperfection actually works in your favor.
Step 1: Prep Your Container
Start with your light-tight container—shoebox, coffee can, whatever you’re working with.
Paint the inside black to reduce reflections and help prevent light leaks. You can paint the outside too if you want it to feel a little more intentional, but that part’s optional.
If painting isn’t your thing, line the inside with black construction paper or a dark fabric. The goal is simple: absorb as much stray light as possible so your image stays clean.
Let everything dry fully before moving on. This part matters more than you think.
Step 2: Cut and Cover the Pinhole Area
Pick one side of your container to act as the front of your camera.
Cut out a small square—this is where your “lens” will live. From the inside, tape a piece of aluminum foil over that opening. Make sure it’s flat and sealed tightly so no extra light sneaks in.
This is the most “technical” part of your DIY pinhole camera build, even though it’s still very low-tech.
Step 3: Make the Pinhole
Take a pin or needle and gently poke a tiny hole in the center of the foil.
Try not to force it—the cleaner and smaller the hole, the sharper your image will be. If the hole is too big, your photo will come out soft and a little muddy.
This is your lens. That’s the whole system.
Step 4: Load the Photographic Paper or Film
This part needs to happen in total darkness, or under a safelight if you have access to one.
Tape your photographic paper or film to the inside wall opposite the pinhole. That surface is where your image will be captured.
If you’re new to analog photography, photo paper is usually easier to start with—it’s more forgiving and gives you quicker feedback.
Step 5: Make a Shutter
Now you need a way to control light entering the camera.
Cover the outside of the pinhole with something opaque—a piece of black tape, folded paper, cardboard—anything that can fully block light and be easily lifted.
This is your shutter. Simple, but it does the job.
How to Take a Photo with a Pinhole Camera
This is where things slow down—in a good way.
Place your pinhole camera on a steady surface or tripod.
Any movement will blur your image.
Point it toward your subject.
Think about composition here—you’re still making a photograph.
Remove the shutter to begin the exposure.
Count your time.
On a bright, sunny day, start around 30 seconds. In shade or indoors, you’ll need longer—sometimes a few minutes.
Cover the pinhole again to end the exposure.
There’s no perfect formula here. Pinhole photography is a lot of trial and error, and that’s part of what makes it interesting.
How to Develop Your Pinhole Photo
What happens next depends on what you used inside the camera.
If you’re working with photographic paper, you’ll need a basic darkroom setup: developer, stop bath, and fixer. There are plenty of beginner darkroom kits out there that make this pretty approachable.
Handle everything in a light-safe environment until it’s fully fixed—otherwise, you’ll lose the image.
If you’re using film, develop it according to the film type. Black-and-white film is the easiest place to start if you’re developing at home.
Pro tip: keep everything light-tight until it’s developed or scanned. This is one of the easiest ways to accidentally ruin a shot.

Elizabeth Rangel’s pinhole camera made from an axolotl flower pot

Elizabeth Rangel’s pinhole photograph.
Making your own pinhole camera is a reminder that photography, at its core, has very little to do with gear.
It’s light. It’s time. It’s patience. It’s paying attention.
Pinhole photography—especially when you build the camera yourself—pulls you out of the habit of chasing sharpness, speed, or perfection. You’re working slower. You’re guessing a little more. You’re letting the image reveal itself instead of controlling every part of it.
And honestly, that’s where things start to feel interesting again.
There’s something grounding about using a DIY camera—something made from a box, a piece of foil, and a pin—and still ending up with an image that feels intentional. It reminds you that the process matters just as much as the result.
So if you’ve been feeling stuck, or overthinking your work, or like you need better gear to make something worth sharing—this is a good place to reset.
Grab a box. Poke a hole in it. Let it be imperfect.
-V