Chris is the itinerary person, not me.
I usually travel a little more spontaneously, and based on my energy and mood. I don’t love wandering, but I enjoy finding things accidentally, sitting somewhere new, changing plans halfway through the day. Chris, meanwhile, had planned an entire Louvre day for us while we were in Paris in October of 2023.
And to be fair, it should have worked.
Instead, we showed up to what felt like complete disorder.
Some kind of internal conference earlier that morning had pushed entry times back, and the lines outside the Louvre were unlike anything I had ever seen. Thousands of people standing shoulder to shoulder in the cold, weaving in and out of the building. Not even yet inching forward .
I was already miserable because I had been fighting off a cold for most of the trip. Cold weather, exhaustion, congestion, tourists everywhere — my patience was wearing thin fast.
We looked at each other and realized neither of us actually wanted this experience anymore.
So we left.
Which felt absurd at the time. Flying all the way to Paris only to bail on the Louvre.
But honestly, leaving ended up giving me one of my favorite memories from the trip.
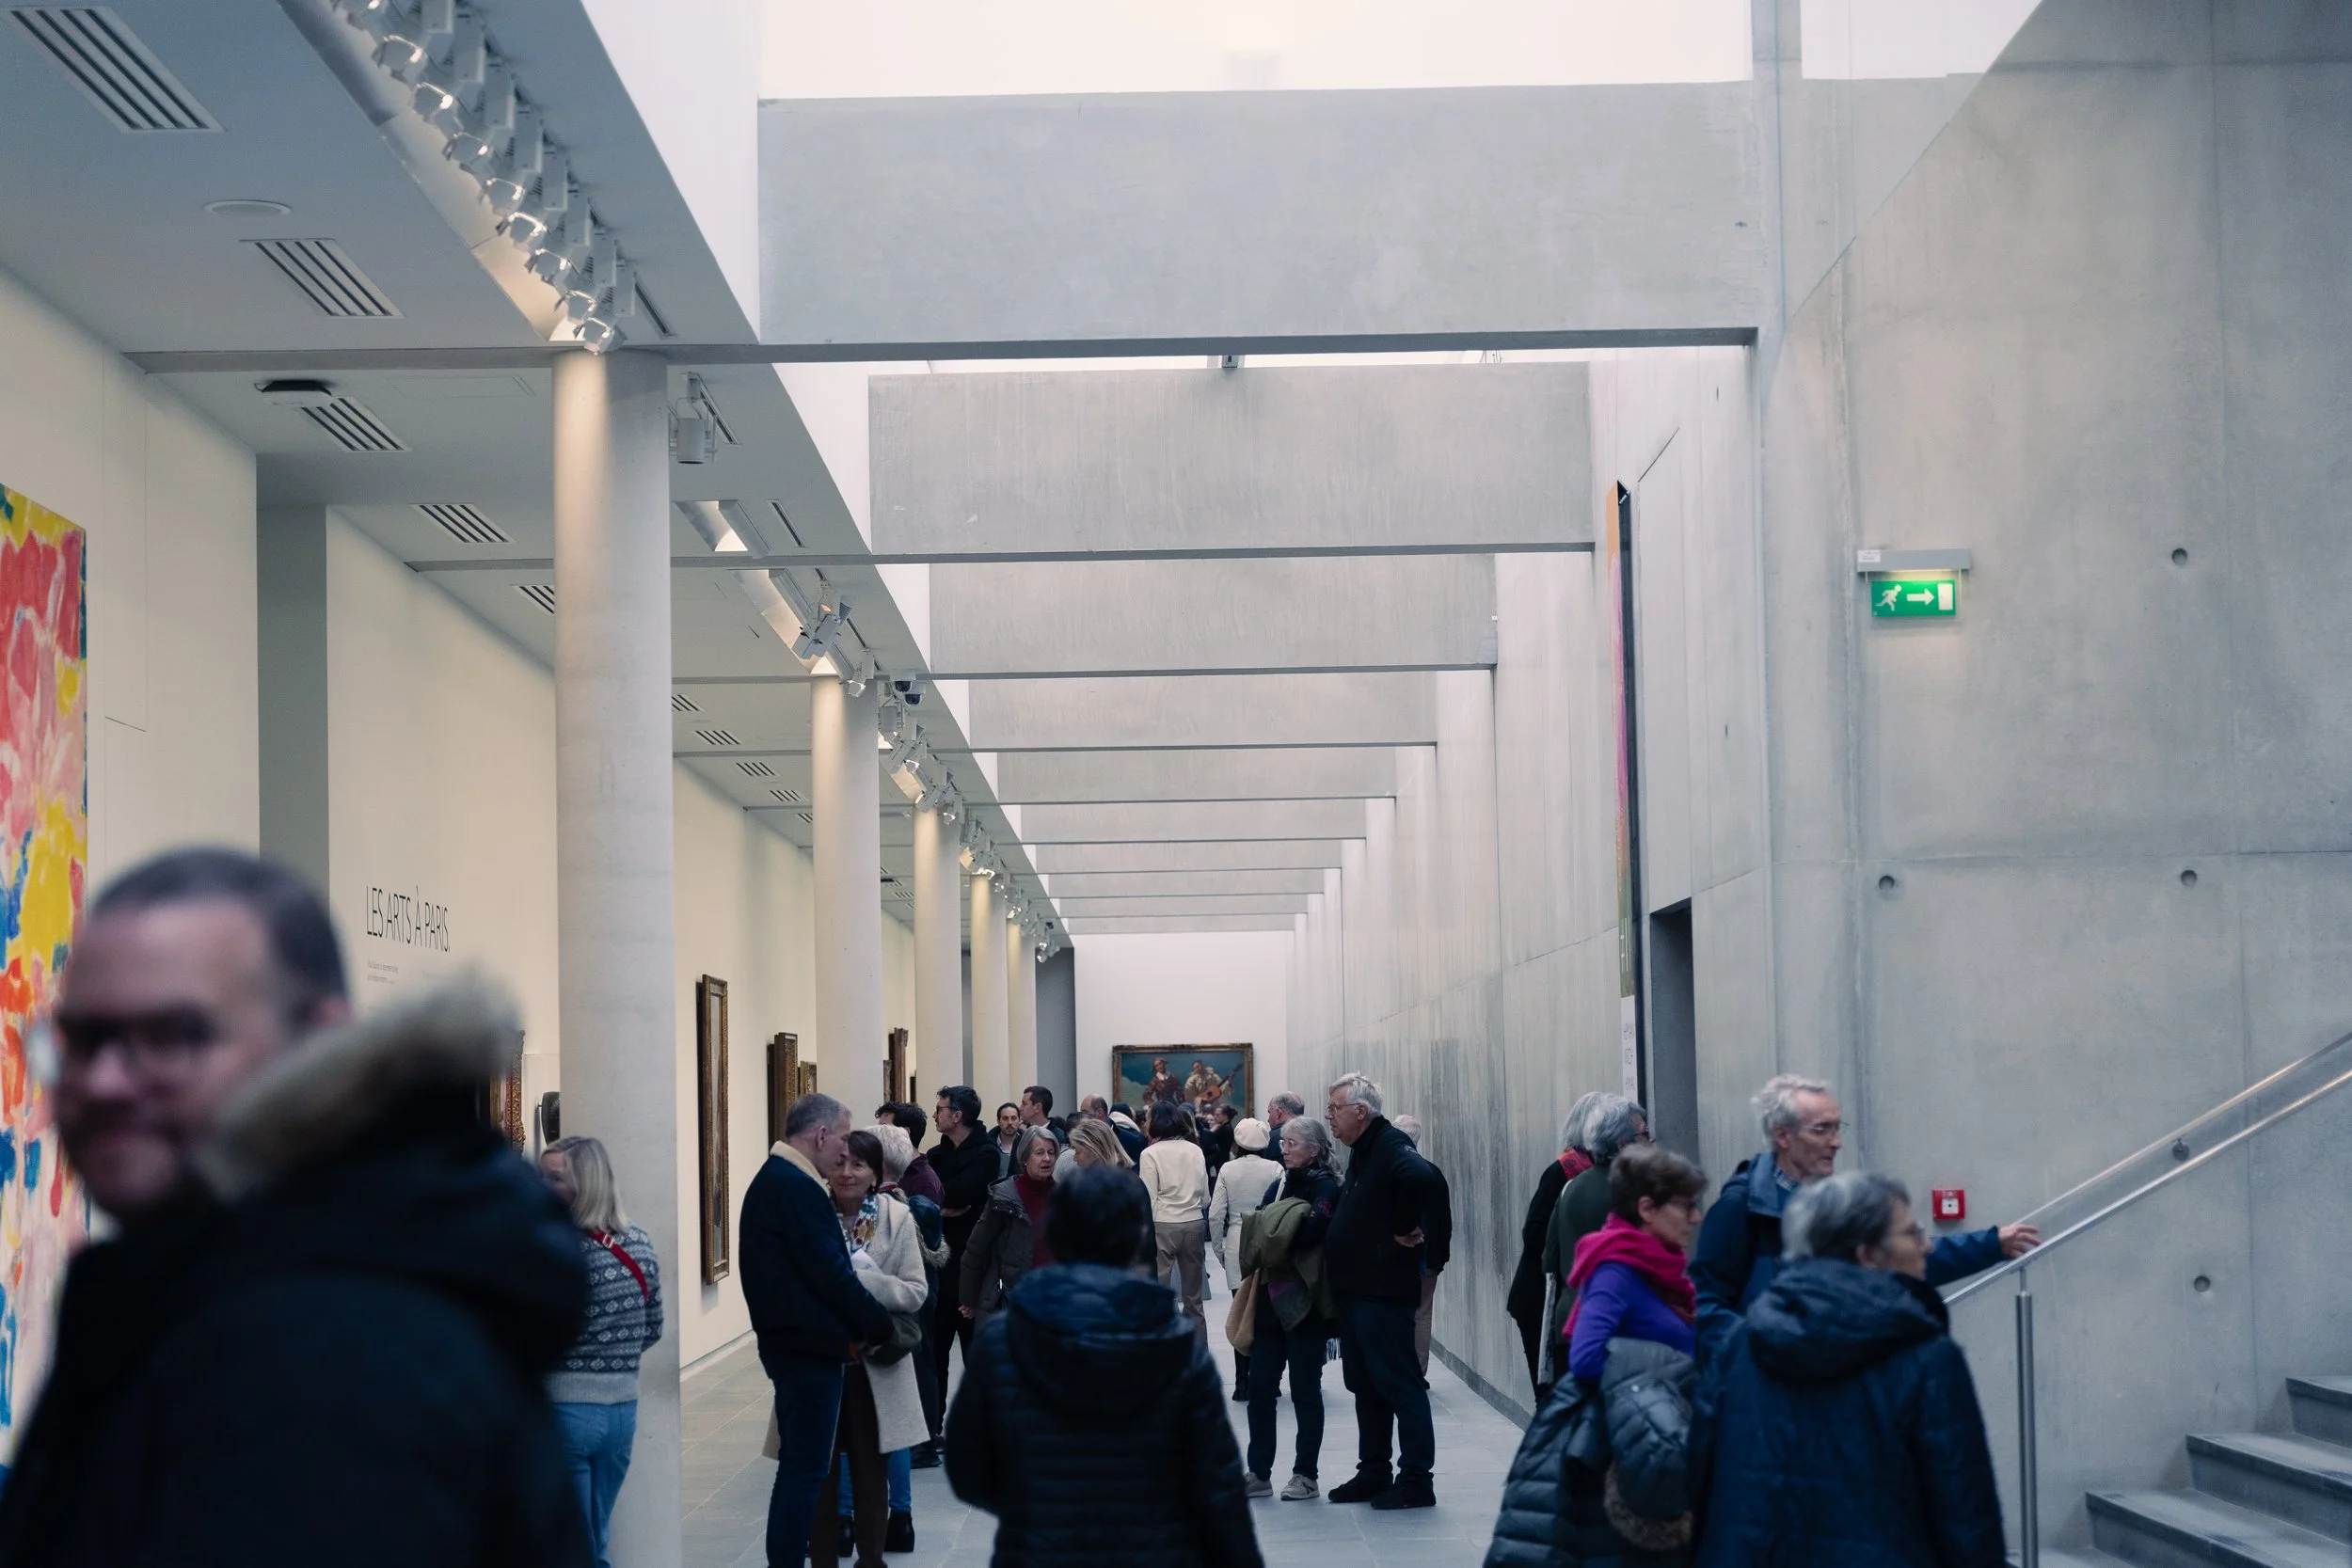
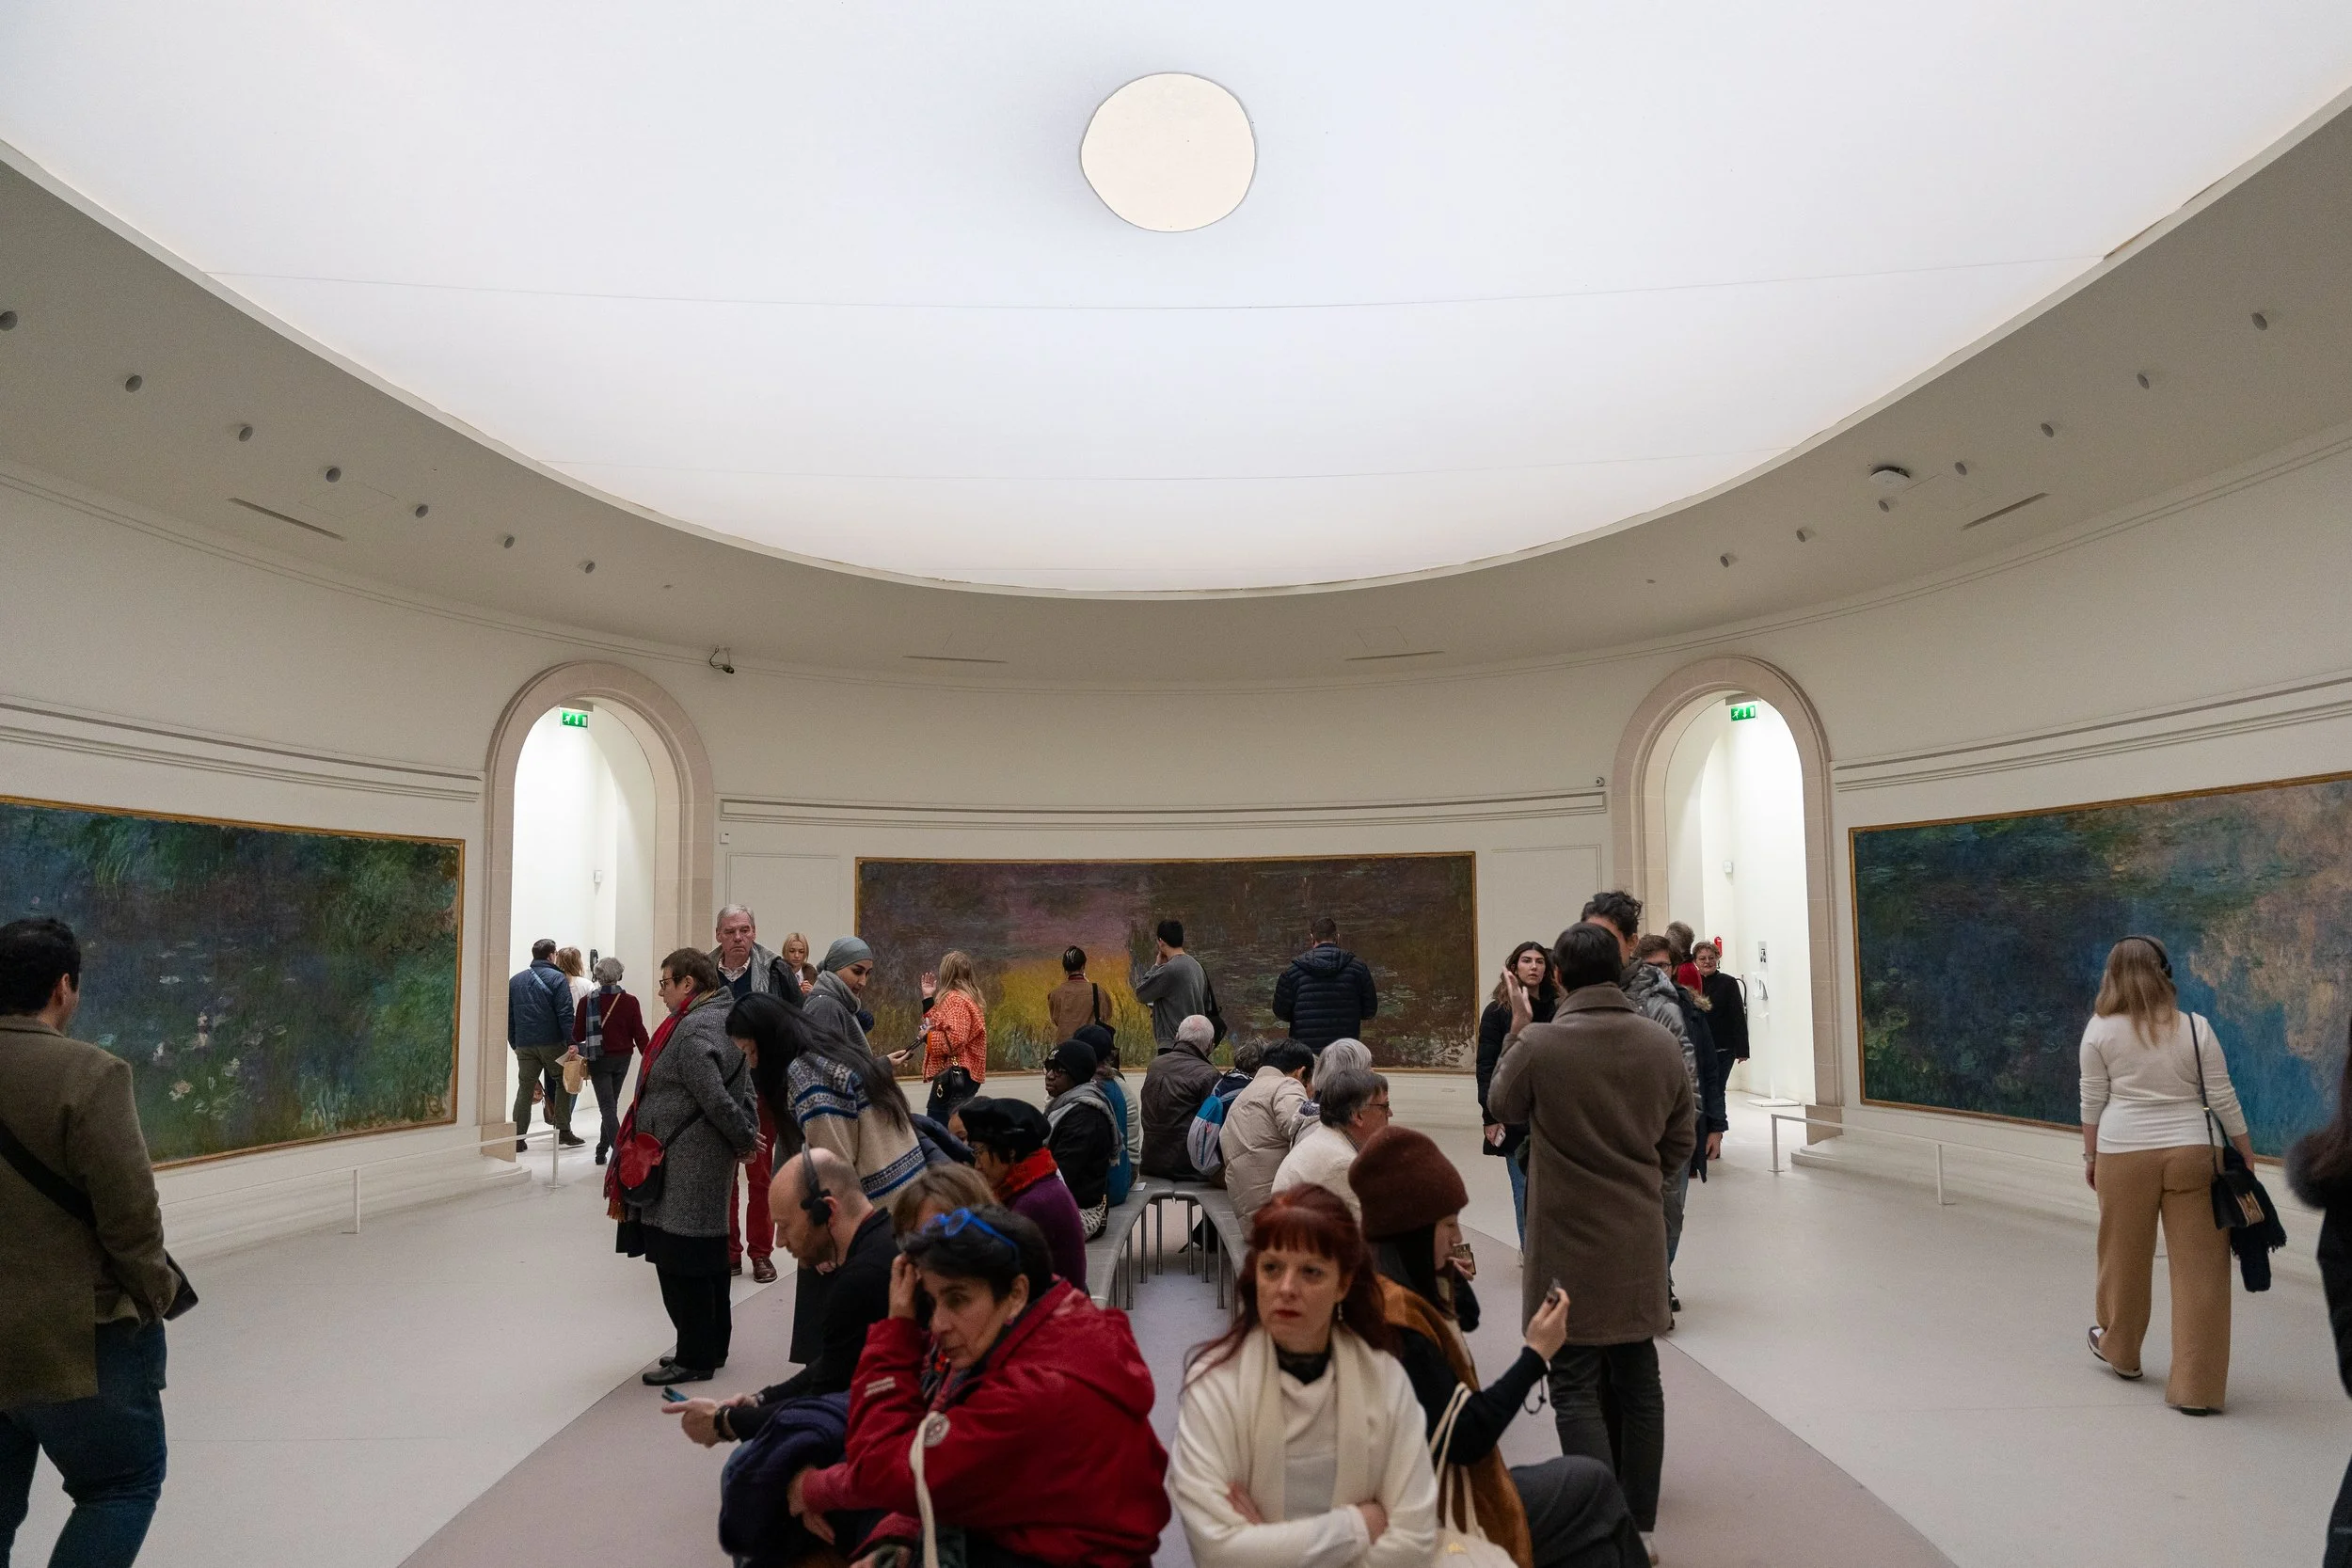
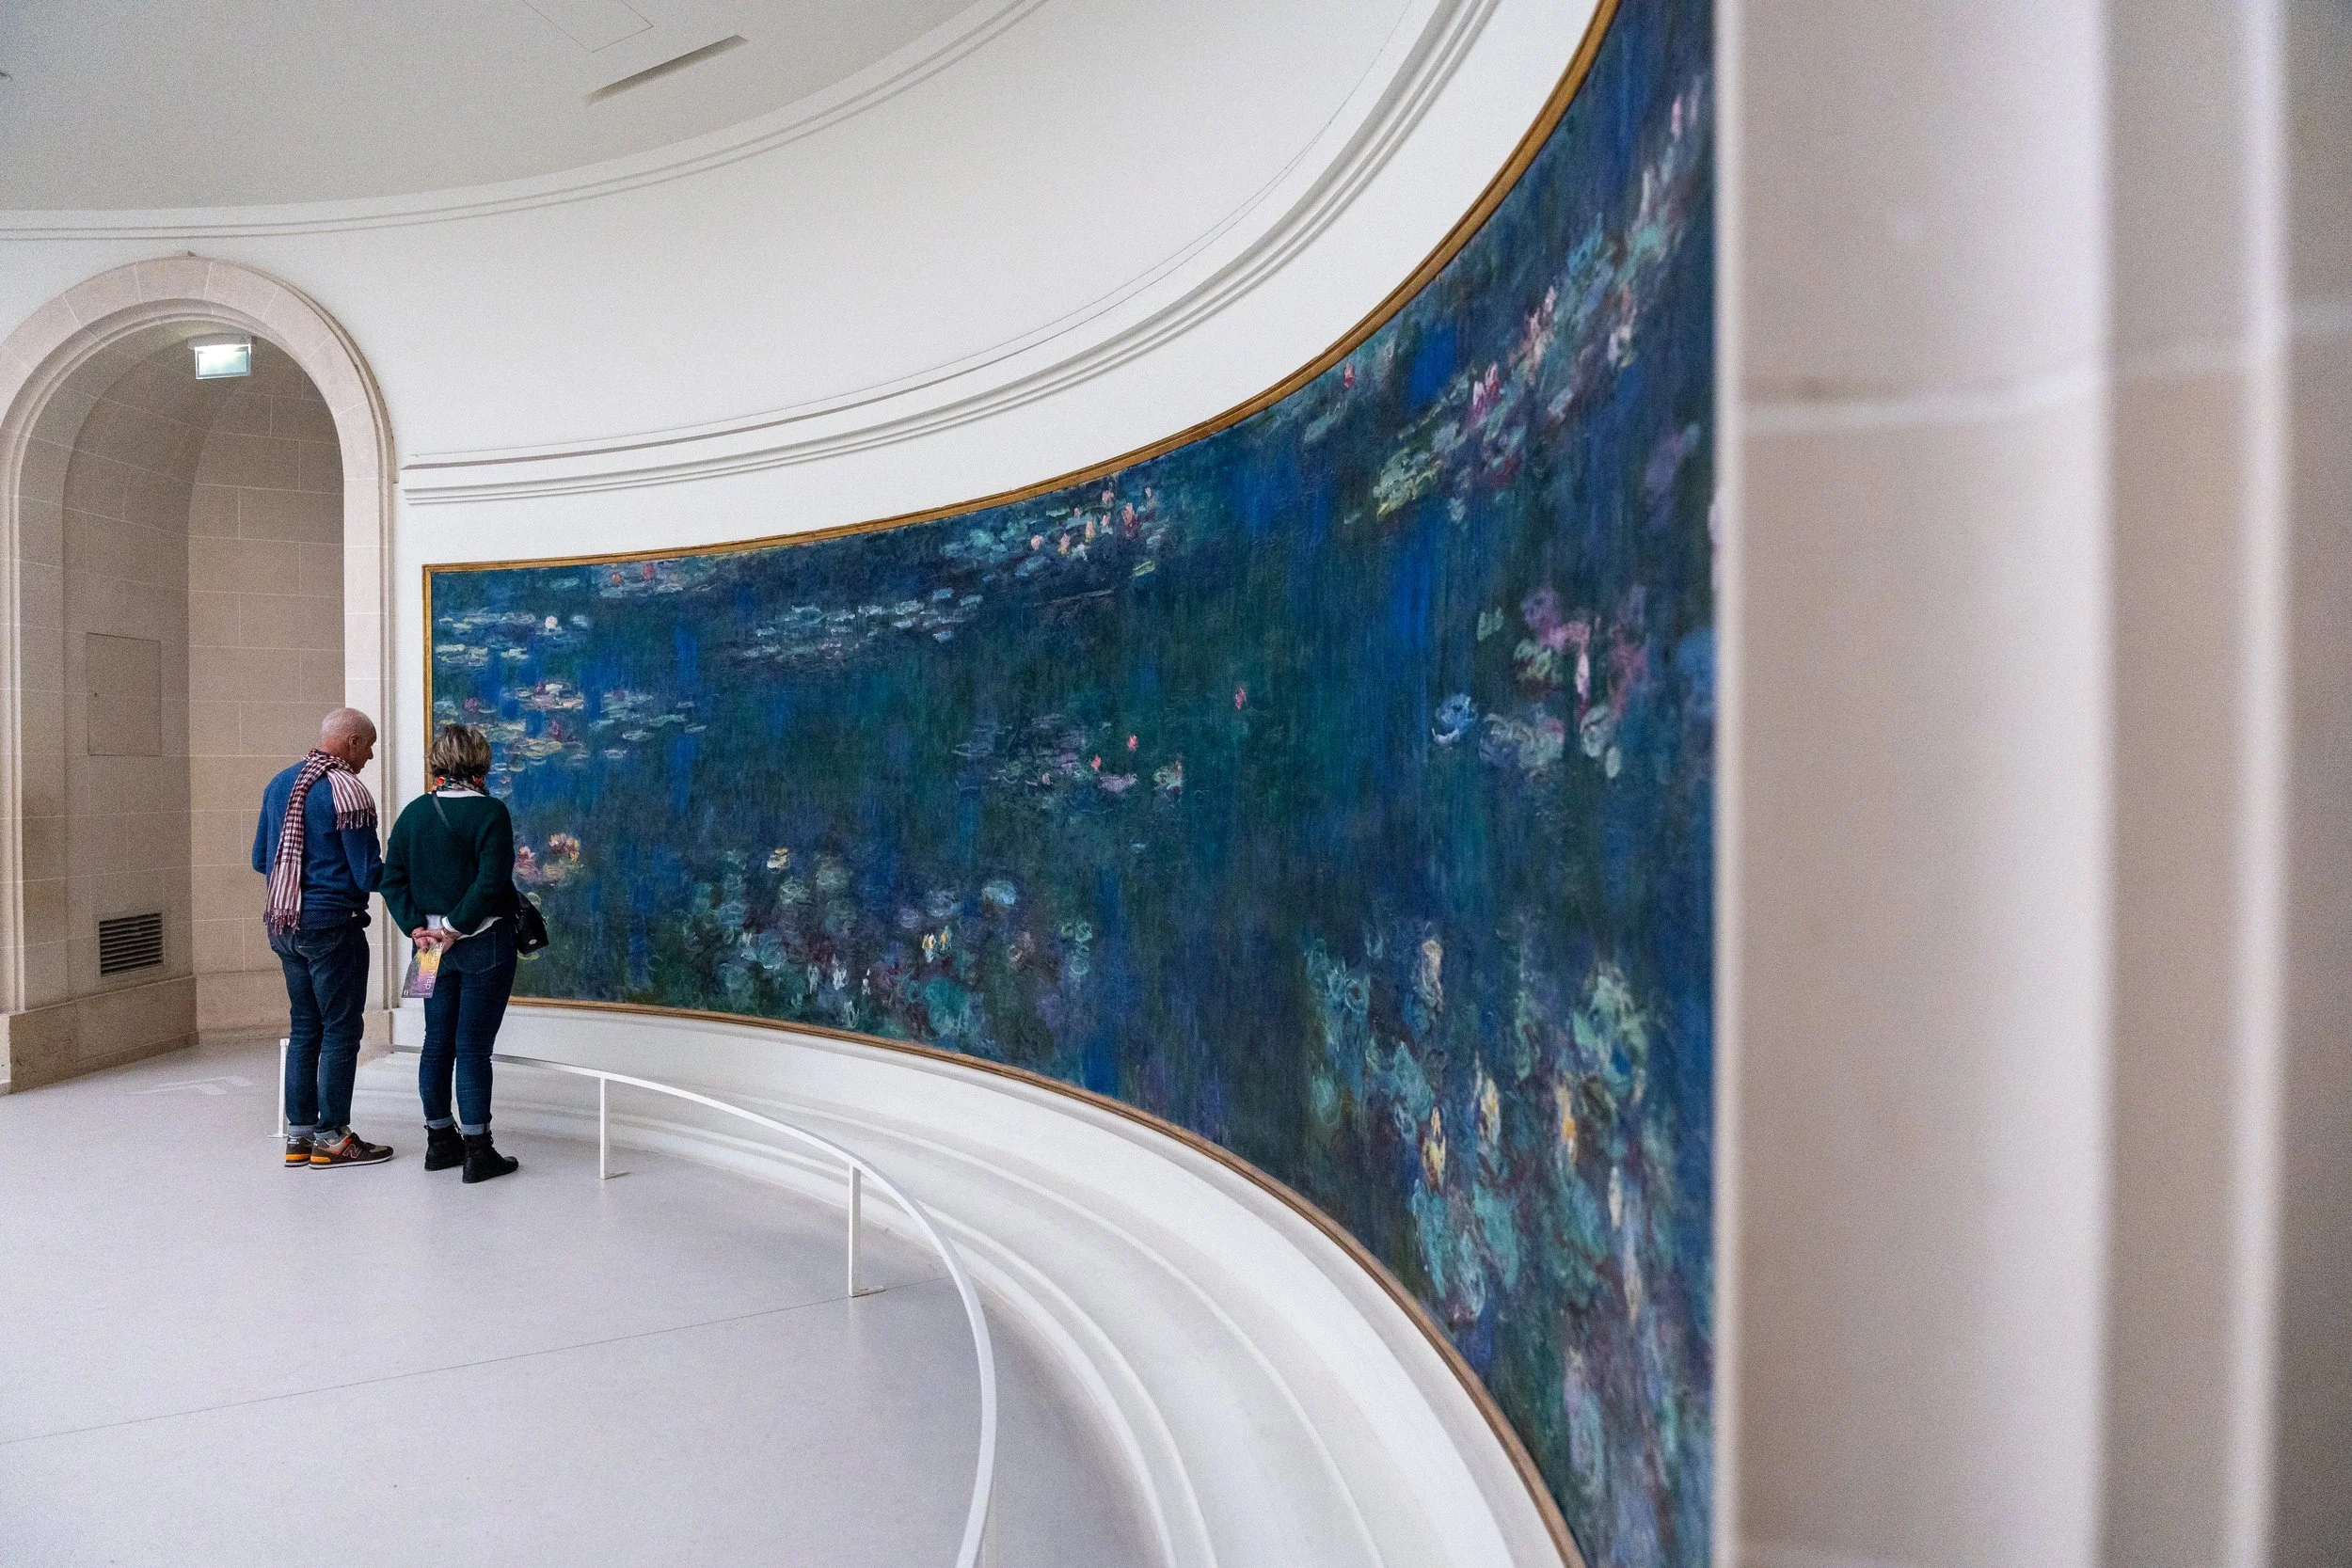
We wandered for a while before deciding to go to the Musée de l’Orangerie instead. Smaller. Quieter. Less chaotic. And unexpectedly, it ended up housing something I had recently spent time studying in school: Monet’s Water Lilies.
That moment hit me way harder than I expected it to.
There’s something surreal about encountering a work in person after only knowing it academically or digitally. I had spent time analyzing it in classrooms, seeing it projected onto screens, flattened into textbooks, and lecture slides. Then suddenly it was there in front of me, enormous and immersive and alive in a way reproductions can never fully communicate.
The oval rooms at the Orangerie felt almost dreamlike. Soft and still, designed in a way that makes you slow down, whether you want to or not.
…mostly still.
At one point, some guy started loudly whistling in the middle of the gallery, and without even thinking about it, I turned around and shushed him. Immediately. Full confidence. No hesitation whatsoever.
Honestly, one of my favorite parts of the day.
I don’t even know where that shamelessness came from, but something about the room made his whistling feel criminal. Like we were all collectively trying to sink into this giant floating world of color and light, and this man decided he personally needed to provide the soundtrack.
He stopped.
And maybe that’s part of why the memory stayed with me.
Not because the day went according to plan, but because it didn’t.
I barely remember the disappointment of not getting into the Louvre now. What I remember instead is wandering through Paris with Chris while sick and exhausted, accidentally finding something that felt more personal, and standing inside a painting I had once only known through coursework and computer screens.
It ended up feeling strangely full circle.
Sometimes the thing you miss becomes the reason you remember the day at all.